Installer
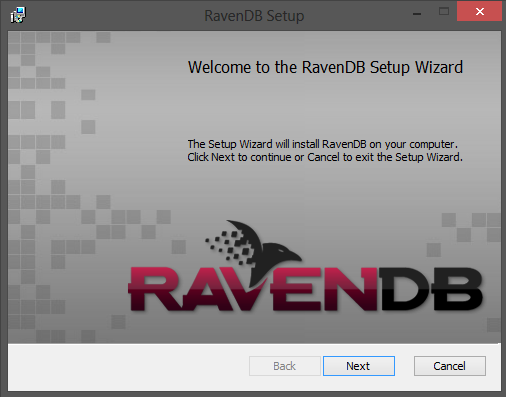
Since version 2.5 the installation of RavenDB can be accomplished by using a GUI installer. The setup wizard will guide you through an installation process where you just need to select the type of an installation and provide configuration options.
Target environment
You need to choose what kind of the environment you are targeting. The licensing requirements are different depending on the selected option:
- Production / Test - you have to provide a valid license in next step,
- Development - no license is required.
Installation type
You can install the RavenDB either as a Windows service or as IIS application. Next steps will guide you through a configuration of a chosen deployment strategy.
Windows Service configuration
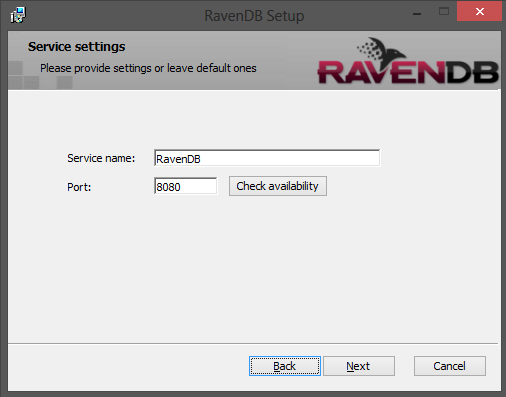
The configuration of the RavenDB service is straight-forward. You only have to provide the name and the port number of the service.
IIS Application configuration
The configuration of RavenDB run on IIS requires you to go throught a few screens.
Web site
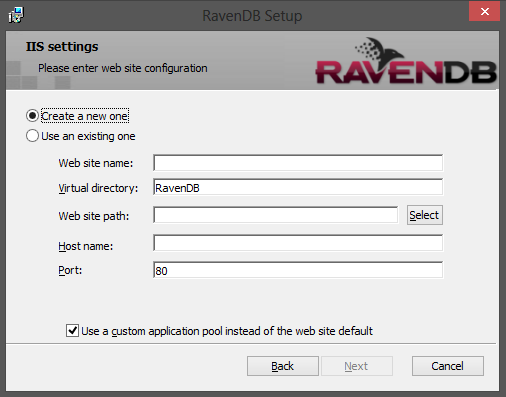
In the first dialog you need to enter a web site configuration. You have here two possibilities:
- Create a new web site
- Use an existing one
If you choose first option you will need to fill up the following fields:
If you decided to use the already existing site you just need to choose which one:
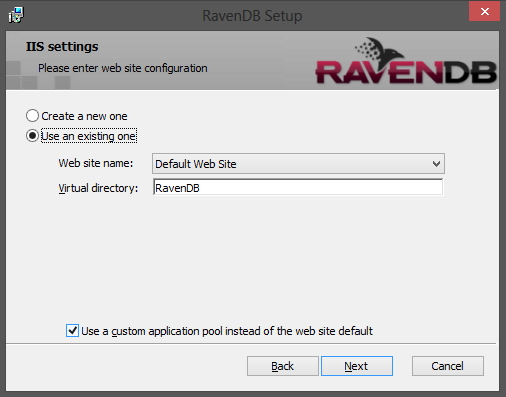
The Virtual Directory field can be empty. Then it means that RavenDB will be installed at the root of the web site.
Optionally you can select a checkbox to configure a custom application pool for RavenDB application instead of using the default one configured for the web site.
Application Pool (optional)
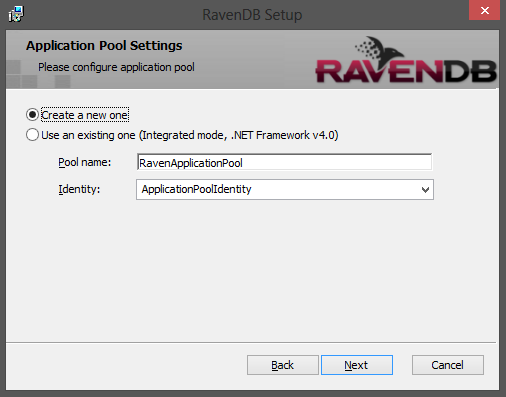
This optional dialog (shown when the checkbox on the previous screen was selected) allows you to set up a custom application pool. As previously you can either create a new or use an existing one.
Performance counters
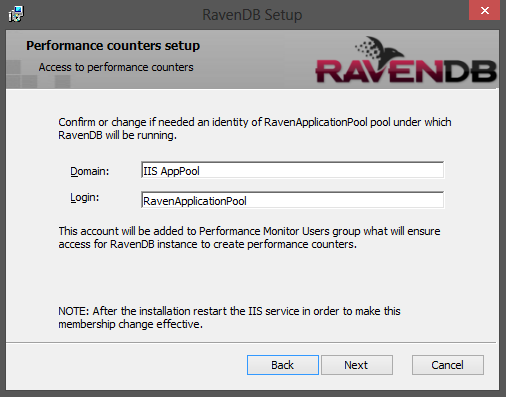
The next screen is to configure permissions of the application pool user to the performance counters access. This is needed to ensure that RavenDB hosted by IIS will be able to create own counters and provide performance stats there.
Upgrade
The RavenDB installer supports upgrades. The previously used settings (like a service name or an installation path) will be recovered by the wizard. The installation process first will automatically remove the old version and then will install the new one.
Uninstall
Uninstallation can be accomplished by Programs and Features in Control Panel . Only the files created during an installation process will be removed, so all of database data will remain untouched on a disk.
Quiet mode installation from command line
The RavenDB installer can also be run from a command line with administrative privileges. In order to do that you will have to specify all required installation settings. The following command shows the dialog with available options:
ravendb-[version].exe -helpBelow there is a command which installs RavenDB as a windows service:
ravendb-[version].exe /quiet /log C:\Temp\raven_log.txt /msicl "RAVEN_TARGET_ENVIRONMENT=DEVELOPMENT TARGETDIR=C:\ INSTALLFOLDER=C:\RavenDB RAVEN_INSTALLATION_TYPE=SERVICE REMOVE=IIS ADDLOCAL=Service"The list of RavenDB specific properties:
- RAVEN_INSTALLATION_TYPE - available options: SERVICE or IIS (quiet mode instalation on IIS is not recommended)
- RAVEN_TARGET_ENVIRONMENT - available options: PRODUCTION (default), DEVELOPMENT
- RAVEN_LICENSE_FILE_PATH - a full path to the license file
- RAVEN_DATA_DIR - data directory (default: ~\Data)
- RAVEN_INDEX_DIR - indexes location (default: ~\Data\Indexes)
- SERVICE_NAME - default: RavenDB
- SERVICE_PORT - default: 8080